Monthly Archives: July 2013

Hahn_28cm_Non_Stick_Buffet_Saute_Pan

Marc’s Corner: Cooking with Stainless Steel {Guest Post}

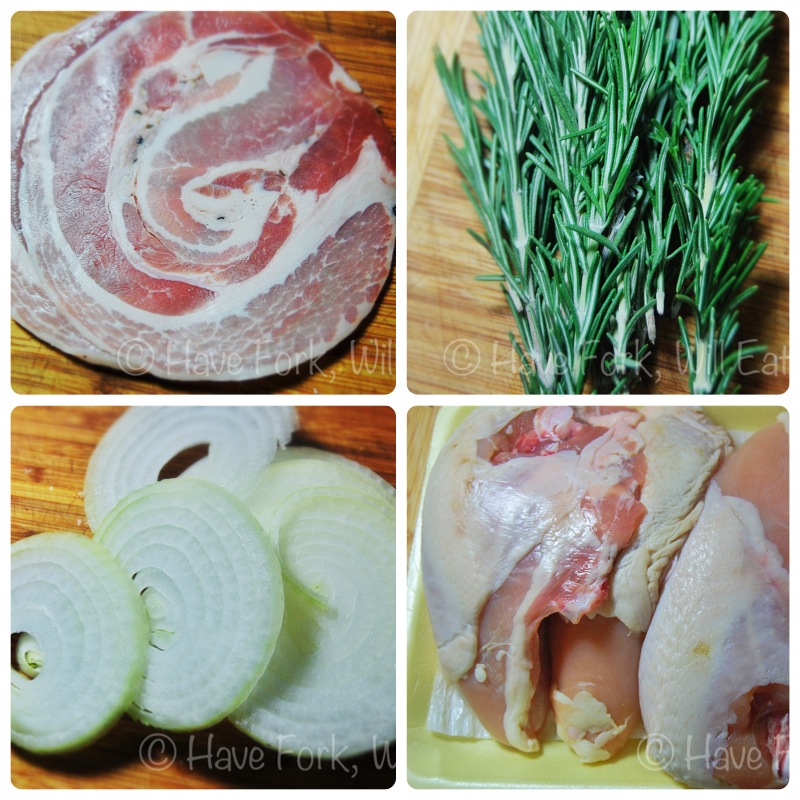
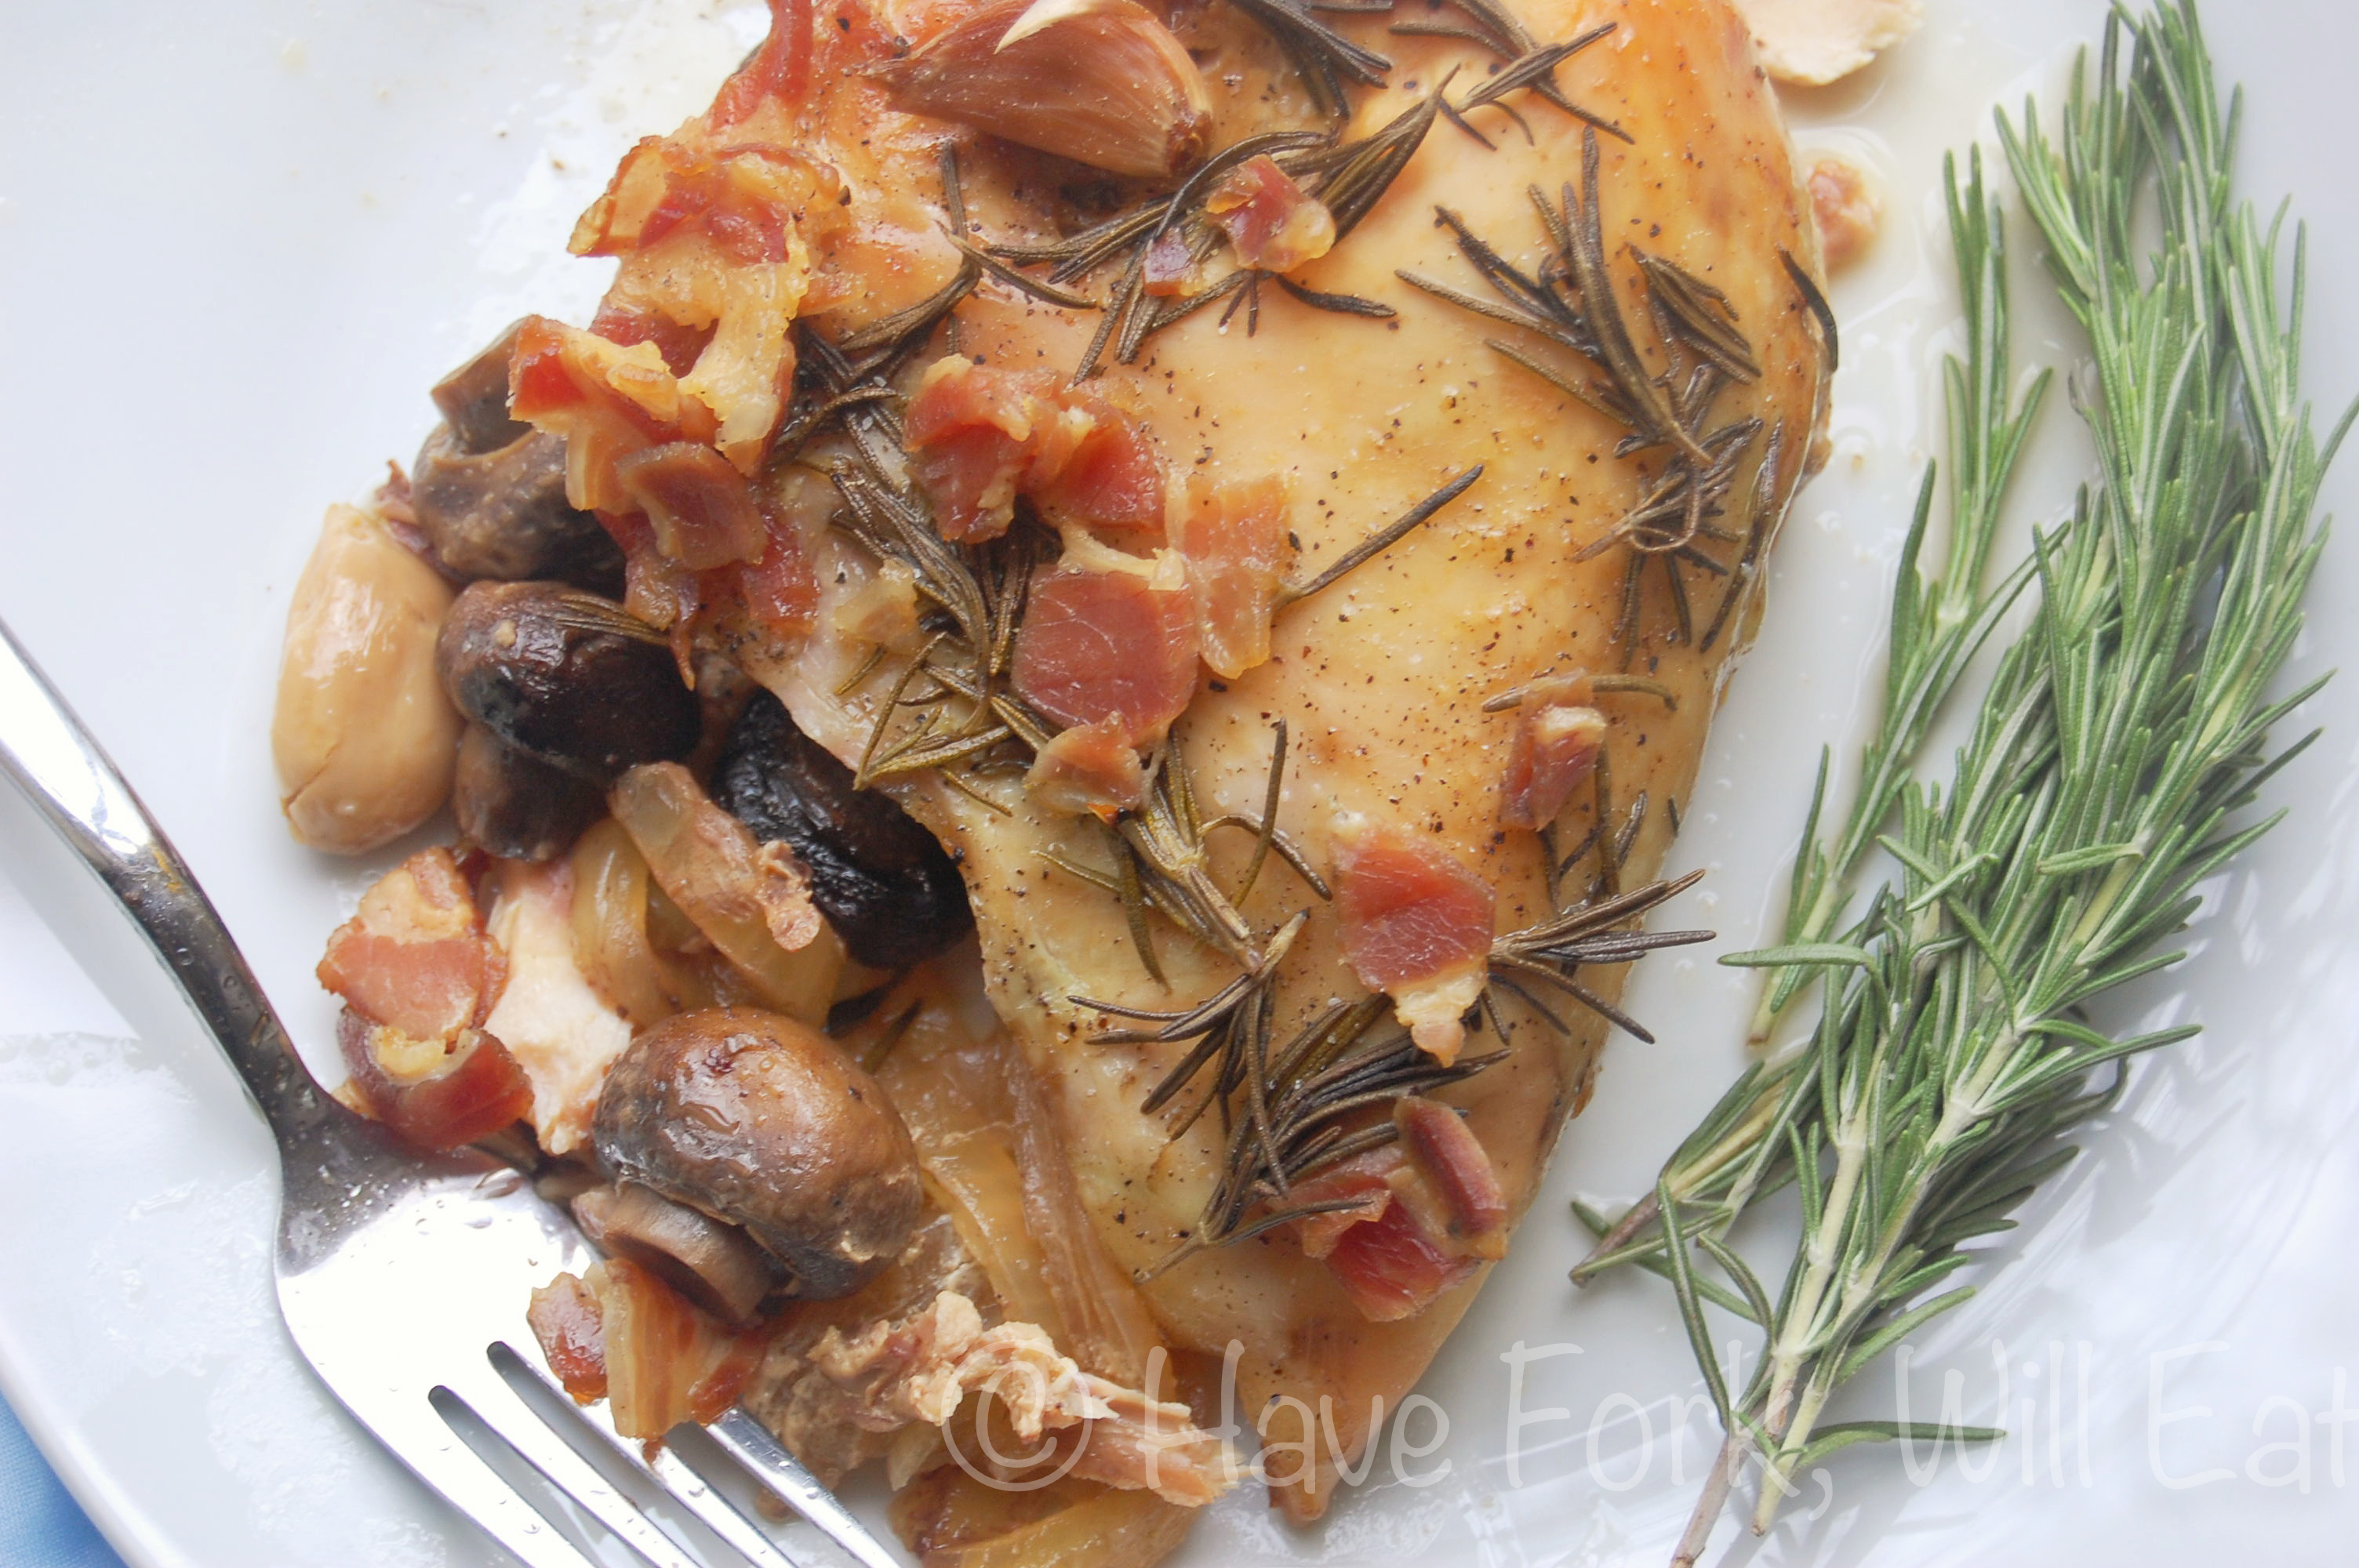
Introducing guest posts from Marc, which I’m affectionally calling “Marc’s Corner.”

Marc is a fellow member/moderator of the Home Cooking community on Google+.  He’s also a semi-retired Food & Beverage professional-turned home cooking enthusiast.  He’s been kind enough to share some of his culinary experience and expertise to help you cook better in your own kitchen.


Some people seem to have this fear of cooking with stainless steel cookware choosing either a teflon or non-stick coated pot or pan over a stainless steel one. And I can understand where they are coming from.

Non-stick pans are a dime a dozen and some of them can be had for a bargain. Non-stick pots and pans literally endorses what the product stand for. Food does not stick on them. They are ideal for quick and easy frying, general cooking and they are definitely easy to wash.

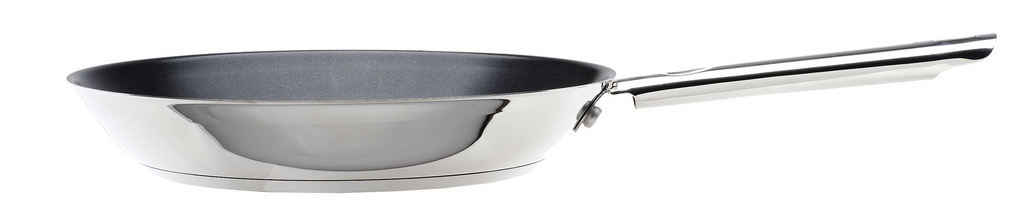
Stainless steel cookware on the other hand is a different beast altogether. You need to treat them with a little respect. When not used correctly, food gets burnt and stick to the sides. Sometimes, it becomes almost an impossibility to remove.

On the other hand, stainless steel cookware is one of the most durable and versatile cookware invented by man. Modern and well made stainless steel pots and pans even come with a 3-ply base to distribute heat evenly.

I am not advocating stainless steel but it is my preferred choice and I hope this short article will convince you to try cooking with stainless steel if you haven’t already done so. You won’t become an expert at it overnight but over time and a little practice, I hope that you will truly appreciate its qualities.

First off, understand how stainless steel reacts to heat. Once you understand and learn how to control heat, you are practically  halfway there.

Hahn_29cm_Frying_Pan

First rule of thumb, you must always pre-heat your stainless steel cookware. And I am not talking about turning up the fire for 5 seconds and  get going. Keep the heat steady and constant. No roaring fire please. Respect and master heat, do not let it become your master. Control is the keyword here. Ok, so this is starting to sound like something from a kung fu movie. But let me tell you this, it is.

Now that you’ve pre-heated your cookware, ow do you know it is ready? Test it with water. Let a few drops of water trickle onto the surface. If they start ‘dancing’ on the surface, you’re all set.

Add a small amount of oil, a teaspoon to a table spoon depending on what you intend to cook and let that oil heat up. Don’t go Rambo on me now and start throwing food in.  Wait till it gets hot and I mean smoking hot but not hot to the point when your cooking oil starts degrading and burning. You will know it’s ready when you see a wisps of smoke emanating from the surface. When you add meat in, it should be able to slide around. If the meat sticks, it’s not hot enough!

Why go through all this trouble you might ask? Stainless steel surfaces makes it easy for you to brown and caramelised food, retaining all those wonderful flavours that you think only those professional chefs in fancy and expensive restaurants can achieve. That brown stuff on the cooking surface is where all the flavours reside. Use it well. Well you’ve now moved one step forward.

With practice and the occasional screw-ups, your cooking skills will gradually improve and soon you will be able to bring out fantastic flavours from food that may even surprise you.

Chicken with Mint Sauce and Rosemary Potatoes

Green Pea Mint Sauce for Two

We have a new fence!  It’s very exciting.  It looks beautiful and it’s intact.  It’s also four feet tall at the shortest level, so Maggie (our Mastiff) has to stand up on her hind legs in order to peer over it, which she can’t do for very long.  She ends up looking like a prairie dog, searching the horizon for predators, before popping her head back into the confines of the yard.  It’s hilarious.

it also has nothing to do with green pea mint sauce.  Well, at best, they are only tangentially related.  But this sauce is as delicious and easy as Maggie is hilarious.  It’s a particularly great recipe if you’re just cooking for yourself or for  the two of you.  It’s quick, has few ingredients and requires little effort, but it can jazz up some leftover chicken breasts or a rotisserie bird with a great, fresh burst of flavor.

Chicken with Mint-Pea Sauce

It was actually my dinner tonight, along with a side of rosemary potatoes (see below) and this week’s Champagne Wednesday watermelon cocktail.  And it was delicious.  Cooking for one often ends up being quick and simple but that doesn’t mean you can’t treat yo’self.  And sure, the heavy cream in this recipe might negate some of the healthier aspects of the peas but the verdent green color will at least make you feel really good :).

Rosemary Potatoes


Green Pea Mint Sauce

Yield: 2 servings

Ingredients

  • 1 tablespoon olive oil
  • 1 cup frozen peas
  • 3-4 fresh mint leaves
  • 1/4 cup heavy cream
  • 1 oz herbed goat cheese
  • salt and pepper to taste

Instructions

  1. Heat a small saucepan on the stove over medium heat. Add the butter and the peas and cook, stirring occasionally, until the peas are thawed and heated through.
  2. Add half the peas to the blender, along with the mint and and heavy cream. Purée until smooth. If you need a slightly thinner consistency, add some chicken or veggie stock, one teaspoon at a time until the desired results are achieved.
  3. Add the pea puree back into the sauce pan, along with the herbed goat cheese. Cook until the goat cheese has melted into the peas, stirring occasionally.
  4. Taste and add salt and pepper as needed. Serve over...well, anything, but I found grilled chicken to be particularly good.
http://haveforkwilleat.com/2013/07/green-pea-mint-sauce/

Here’s  a “no recipe” recipe for rosemary potatoes: quarter some new potatoes.  Put them in a saucepan and cover them with at least a spare inch of water.  Boil until fork-tender.  Drain the water and add in a tablespoon of butter and a teaspoon of olive oil, as well as some chopped rosemary and a sprinkling of sea salt and cracked pepper.  Cook over medium high heat until browned and crispy, stirring occasionally.


Watermelon Champagne Cocktail

Watermelon Champagne Cocktail

You remember how Champagne Wednesday works: each week, we try a different champagne cocktail to liven up the most boring day of the week.  I post the recipe we’re going to try at the beginning of the week, you make it (or your version of it) Wednesday (or as soon as you’re able) and then we all live happily ever after.  Oh, and I’ll update the version I use by Thursday afternoon.

This week, we’re going to take one of my favorite things and pair it with another of my favorite things: watermelon and booze.  We’ll use this recipe from Fabulous Fête, which includes some gorgeous pictures, if I do say so myself.  All you need are : fresh watermelon, fresh mint, lemonade and your favorite champagne or sparkling wine.

Watermelon Champagne Cocktail recipe from Fabulous Fête

I made this tonight and it was pretty fabulous, although I did my own twist on the recipe.  It’d be a great brunch drink too, I think, if you start to tire of mimosas.

Watermelon Champagne Cocktail

Yield: 2 cocktails

Ingredients

  • 2 cups fresh, chopped watermelon
  • 1/4 cup lime juice
  • 2-4 large mint leaves
  • 1 187-ml bottle of sparkling wine
  • ice
  • sugar for the rim

Instructions

  1. Put the watermelon, lime juice and mint in a blender and blend until smooth.
  2. Put a few tablespoons of sugar on a plate. Wet the rim of two wine glasses with water and then press the rims down into the sugar until it sticks. Carefully add a few cubes of ice to the glass.
  3. Fill each glass halfway with the watermelon puree. Then fill the rest with sparkling wine.
  4. Enjoy!
http://haveforkwilleat.com/2013/07/this-weeks-cocktail-watermelon-champagne-cocktail/

ChefSteps_-_Learn_how_to_be_a_better_cook.-3

Learn the Science of Cooking: ChefSteps

There are a lot of resources on the web for those of us who want to learn more about cooking without ponying up the time, cash and commitment it would take to go through a culinary program.  Maybe you just want to learn a couple of dishes, maybe you want to learn a particular skill, or maybe you’re really interested in the science behind how cooking processes work.  For those of you interested in the latter two, you might want to check out this site: ChefSteps.

ChefSteps is a FREE(!) site out of Pike Place Market in Seattle that has courses and mini-tutorials on why things work and how things work, as well as how to do something and some basic recipes.  You can get instruction on certain aspects of molecular gastronomy like how to centrifuge strawberry juice or the science of spherification.  It’s may not be something you’ll want to do as a beginner, but it’s definitely great knowledge to have stored away, and you can learn a lot of fun, advanced things to do in the kitchen.  I have no connection to this site at all, but I’ve been trying it out and it’s pretty fun.

Particularly awesome:

- They have a course on the Science of Poutine.  Seriously.
– They have text and image tutorials showing you how to do each step of a process.
– You can filter videos by recipe, technique or science, as well as beginner, intermediate or advanced.

Again, I wouldn’t really consider these “beginner courses.”  If you have never so much as boiled water, you might want to start with learning basic processes, patterns and ingredients for cooking, but once you’ve gotten all that down and you want a real challenge, this is an awesome resource.  Also free!

Check Out ChefsSteps

Paprika Habanero Chicken Skewers

Spicy Greek Yogurt and Lime Marinated Chicken or Paneer Skewers

That’s a long title.  Say that 5 times fast.   No, really, do it.  I’ll wait…

…Ha!  That was hilarious.  You’re a funny person.

Today has been a myriad of ups and downs.  I’m still on vacation, +1.  The fence won’t be finished for days yet so our yard is still a construction zone and our dogs can’t roam freely as they’d like, -1.  Paul came over for dinner and games, +1.  Paul smashed his iPad in our driveway, -1.  We had these chicken skewers for dinner, + 1.  I forgot to make rice to go with them, -1.  We had arugula salad though, +1!  It was 90 degrees outside…+/- 0.  The skewers were delicious, +1.  Tally….whew! I’m in the black today.

Paprika Habanero Chicken Skewers

Paprika Habanero Chicken Skewers

I may have gone a little skewer-crazy, today.  I also made skewers of cherry tomatoes marinated in balsamic vinegar, baby eggplants brushed with olive oil, zucchini and red onion and grilled them on salt blocks.  They turned out quite nicely as well.  It got a little hot in the 90F degree heat standing in front of the grill but it was worth the extra tan :).

Paprika Habanero Chicken Skewers

Enjoy!

Spicy Greek Yogurt and Lime Marinated Chicken or Paneer Skewers

Ingredients

  • 4 medium to large boneless, skinless chicken breasts, or 1 pound paneer cheese
  • 1 cup nonfat greek yogurt plus extra for dipping
  • 2 tablespoons lime juice
  • 2 tablespoons paprika
  • 2 tsp habanero powder
  • 1 tablespoon kosher salt
  • 6 metal skewers

Instructions

    Chicken version
  1. Cut chicken breasts into 12 strips, lengthwise (about three strips per breast). Put the chicken into a gallon-sized ziplock bag.
  2. In a medium-sized bow, mix together the yogurt, lime juice, paprika, habanero powder and salt. If habanero is too spicy for you, you can substitute a different chile powder or skip it altogether and increase the amount of paprika.
  3. Spoon the yogurt mixture into the bag with the chicken. Seal the bag and squish it around until all of the chicken is coated with the yogurt mixture. Put the bag in the fridge and let it marinate for about 4 hours, or overnight.
  4. Brush your grill with oil or spray and set it to a medium high heat. Thread the chicken strips onto the metal skewers, two strips per skewer, one right after the other. Place the skewers on the grill. Grill, turning occasionally, until the chicken is cooked through and a nice crust has developed--about 7-8 minutes per side.
  5. Serve alongside a bowl of greek yogurt for dipping.
  6. Paneer Version
  7. Cut the paneer into 1" cubes. Place cubes in a gallon-sized ziplock bag.
  8. Follow steps 2-5, only cut the cooking time down to 5 minutes per side.

Notes

I didn't have any cumin, but I think a couple teaspoons added in would be divine. Also an optional spritz of lime, if that's your thing. We served this over an arugula salad, but I think a saffron and tomato rice dish would also fare nicely.

http://haveforkwilleat.com/2013/07/spicy-greek-yogurt-and-lime-marinated-chicken-or-paneer-skewers/

my cookbook

15 Ways to Save Recipes in Evernote

This blog post came to me in a dream last night.  Seriously.  In my dream, I created a list of 15 ways to collect recipes in Evernote.  This might be a sickness.  Or it’s a sign from God.  Or maybe in this case, Ganesh.

Organization is hugely important to me.  I like to have information in easily accessible, searchable, sortable structures and I need those structures to be sensible, flexible and, most of all, easy.  I’m very lazy, which is odd because I have a lot going on in my life, so I need the simplest solution possible.  That’s why I’m such a fan of Evernote.

I think about food all the time, and I’m always stumbling upon new recipes I want to try, new tips, new techniques, new ways of doing things—you know, information picked up from family, friends, magazines, books, the internet.  And all of that stuff means nothing if I can’t find it later on.  Hence, organization.

So here are all the ways you can pull recipes into Evernote….or any other information, for that matter.  There actually might be way more that I’m forgetting, but there are my go-to recipe-saving processes.

You can…

1. Type in a recipe.

2. Record yourself or someone else saying the recipe out loud.

3. Take a picture of a printed recipe and pull it into Evernote, or use the Page Camera in the Evernote app.  (This works for your cookbooks too!)

4. Scan in a printed recipe and send it to Evernote using a DoxieCanon ImageFormula or Fujitsu ScanSnap scanner.  (Example)

5. Email the recipe to your Evernote account using your private Evernote email address.

6. Clip a recipe from a webpage using the Evernote Web Clipper on your desktop computer.

7. Clip a recipe from a webpage using Dolphin Browser on your iPad.

8. Send recipes to Evernote using Instapaper, Feedly, Pocket or Zite on your computer or mobile device.

9. Automatically send recipes from your favorite blog’s RSS feed, your social network accounts, YouTube or your Pinterest boards to your Evernote account using an IFTTT recipe. (Example)

10. Write down a recipe using Penultimate, automatically syncing to your Evernote account, or use a similar iPad notebook app that will let you send a recipe to your Evernote account.

11. Write, or have your family and friends write, a recipe with your Livescribe Sky pen and have it automatically sync to your Evernote account.

12. Pull recipes from Say Mmm to your Evernote account.

13. Mail your massive stack of recipe tear-outs to Shoeboxed and let them scan them into your Evernote account.

14. Clip recipes from Evernote Food into your Evernote account.

15. Join recipe notebooks by your friends, family, or me!

Now…re-read that list again, only replace the word “recipe” with “receipts” or “bills” or “party RSVPs” or “documentation” or “interesting articles” or “stuff to buy” or “journal entries” or anything.

Yeah.  It’s pretty awesome.

Blackberry Basil Crush

This week’s cocktail: Blackberry Basil Crush

Vodka, blackberries, basil, syrup…what’s not to love?  I love the blog Santa Barbara Chic for three main reasons: colorful photography, delicious recipes, and because Santa Barbara makes me think of one of my favorite shows of all time: Psych.  You know that’s right.

Anyway, because I am a fan of delicious flavor, I’ve settled on this Blackberry Basil Crush for this week’s cocktail, replacing the “splash” of club soda with a “splash…or four” of your favorite sparkling wine.  Further, feel free to mix up and make your own version of the recipe, too; experimentation is always encouraged here, so long as it doesn’t incur any terrible catastrophic results, like massive plagues, weapons of mass destruction or casu marzu (which is a real thing).

Speaking of experimentation, I’m still thinking about the idea of olive oil in cocktails.  Does it work?

I dunno.  I’ll ponder it over a nice cocktail….

Get the Blackberry Basil Crush Recipe from Santa Barbara Chic

winston-maggie

Coffee with a Canine

Julia Child once said, “People who love to eat are always the best people.”  I fully agree with Miss Julia, as I usually do.  I also think a subset of those best people also enjoy dogs.  (And another subset enjoy cats, gerbils, snakes, marmosets, sloths, etc.)   For those of you food lovers who also enjoy sharing meal times with your canine friends, you might be interested in this fun little blog: Coffee with a Canine.

It’s full of brief interviews with interesting people (writers, small business owners, buyers, etc) about their dogs, and their favorite coffee occasions.  It’s fun, super cute and full of pictures of awesome four-legged friends.

And there’s a post about yours truly and my two favorite mutts!  Check it out.


Which Knife Do You Need?

If you’re curious about kitchen knives, and which ones to choose and why, keep an eye on this Learnist board I’m developing on that very same subject!  Coming soon: more knife types and tips on care and sharpening.  Knife skills are very important, but even the best cuts need a sharp instrument.

Grilled Peaches

Jalapeno-stuffed, bacon wrapped cheddar dogs and grilled peaches à la mode

I am on vacation.  From my main job, anyway.  Sadly, there won’t be any beach or Mediterranean abode or even a lot of relaxation.  There’s a lot to do–a new fence being built (yay!), garden beds to replant after being tramped while the fence was being built (boo!), storage spaces to clean, committee meetings to go to, a zoo to visit.  But at least there won’t be any boredom…?

Remember when summer vacation was actually…a vacation?

Stuffed Cheddar Dog

Stuffed Cheddar Dog

Oh well.  At least I’ll get a lot of good stuff done and this “vacation” was definitely started off right.  I got at least one proper, full relaxation day in, though.  Slept in, laid around, watched tv (a Psych marathon if you’re interested), had a mini cookout with friend and watched a movie.  I won’t go into detail about my feelings on the movie we watched (Oz The Great and Powerful)–I hated it but that’s ok.  Because at least while watching it, I got to eat good food.

Stuffed Cheddar Dog

Stuffed Cheddar Dog

First of all, jazzed up hot dogs from Biercamp, an artisanal charcuterie in town.  Their sausages are delicious enough, but we decided to kick it up another notch….so we split them in half, stuffed them with sliced jalapenos, wrapped them with Biercamp peppered bacon, grilled them, served them on Zingerman’s buns and smothered them with shredded sharp cheddar.  There should have been grilled, buttered onions on top too but sadly, I forgot to make them.  I know.  I know.  I’m working on forgiving myself.

Mexican Corn

Mexican Corn


Alongside those hot dogs, we had Mexican street corn–you know, grilled corn on the cob slathered with a “crema,” or essentially, mayo, sour cream and lime juice, and rolled in parmesan and chile powder.  Pretty good, I will say.  We also sampled a bit of this week’s Champagne Wednesday cocktail, too.

Dessert was also fabulous: grilled peaches with vanilla bean gelato and balsamic glaze.  More specifically and food porn-ingly, we brushed halved, fresh peaches with butter, ground cinnamon and brown sugar, grilled them on either side and served them in cocktail glasses with a scoop of Talenti vanilla bean gelato and a drizzle of balsamic vinegar glaze.

Grilled Peaches

Grilled Peaches

Yeah baby.  Just thinking about it makes my muscles feel all soft and happy.

The meal in general went a long way to soothe frustrations I have about how ridiculously difficult it’s been to get our fence replaced.  I mean, endless paperwork and permits and days of construction and blah.  But it’s ok because peaches.  Peaches.

The Stuffed Cheddar Dogs Non-Recipe

Ingredients

  • Hot dogs
  • Fresh whole jalapeño peppers
  • Bacon---and not "Canadian bacon" either
  • Buns
  • Shredded cheddar cheese
  • Grilled buttered onions
  • Any other hot dog toppings you like

Instructions

  1. Carefully slit each hot dog down the middle lengthwise, being careful not to cut the hot dog all the way in half. You basically just want to create a little pocket in the center.
  2. Cut the jalapeño in half. For two hot dogs, I used about a third of a large jalapeño, because we like things spicy. Adjust accordingly for your quantity and preference. Slice the jalapeños into thin slices crosswise. Stuff as many slices into the hot dogs as you like.
  3. Wrap a slice of bacon around each hot dog. You'll probably need two slices to wrap from top to bottom. Seal the slices with tooth picks to keep them from unraveling, or tuck the ends into the strips.
  4. Grill the hot dogs as you normally would until heated through, and the bacon is crispy.
  5. Put a hotdog into a good quality bun, and top with any other toppings you like--ketchup, relish, mustard, etc--and finally smother it in cheddar cheese. Place under a broiler for a minute to melt the cheese a bit.
  6. If you'd like to add the buttered onions, what I usually do is thinly slice an onion and pile it into the center of a good-sized piece of tinfoil. Place a big pat of butter in the center of the onions, pull the corners of the tinfoil together and tightly wrap into a little package. Put the package on the grill while you get the hot dogs ready, or for about 10 minutes, then pull them off. Put 'em on your dogs.
  7. Enjoy!

Notes

Obviously, this can be scaled up or down pretty easily for however many hot dogs you need to make.

Also, if you don't like hot dogs, try bratwursts or any other kind of sausage.

Works for veggie dogs, too! Although without the bacon obviously...ribbons of zucchini might work though!

http://haveforkwilleat.com/2013/07/first-day-of-vacation-stuffed-cheddar-dogs-and-grilled-peaches-a-la-mode/

Grilled Peaches à la Mode with Balsamic Glaze

Yield: 4

Ingredients

  • 4 peaches
  • 2 tablespoons butter,softened
  • 4 tablespoons brown sugar
  • 4 tsps ground cinnamon
  • 1 cup balsamic vinegar
  • 4 scoops vanilla bean gelato or ice cream

Instructions

    Prepare the balsamic glaze:
  1. Pour the vinegar into a small pot and cook over medium-low heat until reduced by at least half, about 20 minutes. You want a thickened but not stiff consistency that fully coats the back of a spoon. You can start this about 10-15 minutes before you cook the peaches. If it finishes first, turn off the heat and let it sit. It will stiffen a bit and may lighten in color but if so, just give it a good stir.
  2. Prepare the peaches:
  3. Cut the first peach in half from tip to tip. Keep the knife still, but turn the peace 360 degrees. Then grab both halves of the peach and twist in opposite directions to disconnect them. Remove the pits. Repeat this process for each subsequent peach.
  4. Brush the inside (flesh side) of each peach half with about a quarter tablespoon of the butter and sprinkle it with half a teaspoon of cinnamon sugar and half a tablespoon of brown sugar. Pat the sugar down so it sticks.
  5. Turn your grill onto about medium heat. Place the peaches flesh-side up on the grill and let cook for 4-5 minutes. Turn the peaches over and cook another 4-5 minutes, or until slightly charred and soft.
  6. Put the dish together
  7. Put one peach half in a small bowl, or be super-fancy and use a wide-bottom cocktail glass. Put a scoop of vanilla gelato on top. Drizzle it with a tablespoon or two of the balsamic glaze and top with another peach half. Repeat for each peach.
  8. To eat: Put on your fancy face, lift your pinky and enjoy.

Notes

This is also easy to scale up or down. Basically, one peach per person, each peach gets 1/4 tbsp of butter, 1/2 tsp of cinnamon, 1/2 tbsp brown sugar, 1 scoop of ice cream and however much glaze you want.

Also might be good to add: whipped cream with a slight bit of cinnamon added, or chopped, salted nuts.

http://haveforkwilleat.com/2013/07/first-day-of-vacation-stuffed-cheddar-dogs-and-grilled-peaches-a-la-mode/

slowrosemarychicken-3

Rosemary Chicken

I don’t know about where you are but it is super hot, humid and rainy in Michigan.  Hot and humid enough that you don’t want to use the oven.  Rainy enough that you can’t grill and your herb garden is exploding…in fact, I think my oregano plant may have eaten one of the neighborhood children.

So that’s when I turn to one of the greatest inventions of mankind: pizza delivery.  Just kidding, I really mean the slowcooker.  And I know that we often think of the slowcooker as a winter-meal-generator and mostly useful for heavy comfort food, but really, you get out of it what you put into it.

ingredient collage

Literally.  What goes into the slowcooker comes out of the slowcooker, only better and more moist.  (I wrote “moister” there the first time, I did.)  And it can be light and summery, and use up all those fresh herbs you’ve got in your yard….or the ones you found in the produce section of the grocery store.  This dish packs a lot of bright, delicious flavor for what ends up being very little effort on your part.  Chicken, pancetta, rosemary (though you could substitute thyme or fresh oregano).  It takes about 10 minutes to put together—all you have to do is slice a few things and layer them in your slow cooker. Less time to cook, more time to fight off the mosquitos.

slowrosemarychicken-5

Rosemary Chicken

Yield: About 4 servings

Serving Size: 1 breast each

Ingredients

  • 4 split chicken breasts (or about 3lbs)
  • 1 medium sweet onion, sliced
  • 1 pound button mushrooms, cleaned and whole
  • 7 cloves garlic, peeled
  • 2oz pancetta,diced
  • 2 tbsp olive oil
  • 1 tsp salt
  • 1/2 tsp black pepper
  • 3 large sprigs rosemary
  • 1/2 cup lemon juice (or 1/2 cup of your favorite white wine)

Instructions

  1. Place the onions in the bottom of the slow cooker.
  2. Rub the chicken with the olive oil, salt and pepper. Place on top of the onions. Add in the mushrooms, garlic, pancetta, rosemary and lemon juice.
  3. Cook for 8 hours on low heat.
http://haveforkwilleat.com/2013/07/rosemary-chicken/


Great Google+ Communities for Food Lovers

There are some great Google+ communities for people who love to grow, make and eat great food.  The problem with some G+ communities, though, is obscene of amounts of blogspam.  Here are a few of my favorite that are actually full of interesting conversation with other people and not just links.

The_Cocktail_Guide

Site You Need: The Cocktail Guide

You know, it’s not easy coming up with a new cocktail every single week.  It takes a lot of research and imagination…and a strong desire to experiment with as many different combinations of liquor and flavorants as possible.  That’s hard work.  That’s thirsty work.

So thirsty.

But thankfully, we have an ally in the search for more, better cocktails.  The newest one is a fabulous new site called The Cocktail Guide.  What I love about this site is that not only can you find cocktail recipes to try out, but also what occasion a cocktail is good for,  how long it takes to make, even what kind of glass to serve it in (cause I always wonder).  You can see a visual ratio of the elements in the glass, images of the cocktail and you can even submit your own fancy cocktail photography via instagram (and other methods of uploading pics are coming soon).  Find a recipe you like?  Save it to your Pinterest account, tweet it (there are champagne cocktails too, #champagnewednesday fans!), or you Evernote-lovers can use the Evernote Web Clipper to grab it for your own recipe library.

Even this week’s Champagne Wednesday cocktail came from perusing The Cocktail Guide.

So check it out and bottom’s up: The Cocktail Guide


Black Velvet Cocktail

This Week’s Cocktail: Black Velvet

Imagine: Mississippi.  In the middle of a dry spell.  Maybe….Jimmy Rogers on the vitrola up high.  Perhaps Mama’s dancing with a baby on her shoulder.  The sun setting like molasses in the sky.

This drink can sing, knows how to move,everything.  Always wanting more, it’ll leave you longing for….

…wait for it…

….black velvet!

(Those of you that don’t get this reference make me a little sad.)

Last week’s Champagne Wednesday, the French Kisses, went over splendidly.  It was like a flavor explosion in every glass.  This week, we’re trying something a little daring.  No idea if it’ll be good or not.  But that’s why we experiment.  To separate the drinks from the DRINKS.  This week’s cocktail comes via The Cocktail Guide and it’s very simple, just two ingredients: stout and champagne.

I don’t know whose idea it was to combine beer and champagne but I imagine they are interesting people.

Black Velvet Cocktail

Update: my estimation of the cocktail was that it was a beautiful cocktail but mostly just tastes like sweet, extra bubbly stout.  Your thoughts?


Black Velvet

Ingredients

  • Champagne : 3 oz
  • Stout : 3 oz

Instructions

  1. Fill a champagne flute half full with a high quality, cold stout. Fill the rest of the glass with champagne. Enjoy!
http://haveforkwilleat.com/2013/07/this-weeks-cocktail-black-velvet/

Find more tips on this cocktail at The Cocktail Guide.

Enchilada Poblano Burger

Spicy Enchilada Poblano Black Bean Burger

Spicy Enchilada Poblano Black Bean Burger.  That’s a long name.  It’s a solid name.  It’s weighty with deliciousness.  It sprang forth from the communion of two of my dear loves: black bean burgers and enchiladas.

Here’s the thing about black bean burgers: sometimes I love the idea of making my own delicious, spicy black bean burgers from scratch.  But other times…most times, really….almost all times, I don’t have the energy or the time or the desire to mold soft beans with my hands.  So then I turn to the next best thing: Morningstar’s frozen black bean burgers.

I’m not a fan of frozen beef burgers.  But veggie and black bean burger patties seem to do pretty well frozen.  I like that I can grill them like regular burgers and get a bit of that fire-kissed, smoky flavor going on, or I can fry them in a skillet at my house because I live in Michigan and we only have so much “grilling weather” to go around.  They’re ready in minutes and they are delicious.  They actually have flavor!  FLAVOR!

Enchilada Poblano Burger

But anyway, I have this disease, it’s called “Enchiladosis*.”  Essentially, every time I hear the phrase “black beans,” I immediately begin to salivate and crave black bean and poblano enchiladas.  Some days it’s not so bad; I can get to the market or to a nearby Mexican restaurant and satisfy my craving before it gets too terrible, but some days it can be pretty bad.  I mean, we had friends over for gaming last night.  You can’t game and eat enchiladas at the same time!  That’s madness!  It’s messy!  No, you need a hand-held meal for board game night and sadly, enchiladas are a fork-and-knifer.

But it’s ok, because I have found a treatment for Enchiladosis, so all of its long-suffering victims can rejoice.  Enchilada flavor in a delicious, meatless, hand-held format: the spicy enchilada poblano black bean burger.

Just say the words.  Just breathe it in.  Even the words have flavor.  Delightfully, it’s super easy to make a bunch of these at once, too, whether you can get to a grill or not.  And for you skeptical meat-eaters, trust me: this is a delicious burger in its own right and you will be thoroughly satisfied.

There recipe below makes 2 burgers, but is easily scaled up for more.  I also included some notes on possible additions or substitutions.  Enjoy!


*This isn’t really a thing.  But it should be.

Spicy Enchilada Poblano Black Bean Burger

Yield: 2 burgers, mucho deliciousness

Ingredients

  • 2 Morningstar Spicy Black Bean Burgers
  • 1 large poblano pepper, fire-roasted, peeled and cut in half
  • 4 tablespoons enchilada sauce, plus more to serve with
  • 2 slices pepper jack cheese or 2 oz grated chihuahua cheese or 2 slices of your favorite vegan cheese
  • 2 slices red onion
  • 1/2 ripe avocado, sliced and divided
  • 2 tbsps fresh chopped cilantro
  • 2 buns
  • 1 tsp ground cumin, divided

Instructions

  1. Cook the Morningstar Spicy Black Bean Burgers according to package direction, but I highly recommend grilling. Near the end of the cooking time, lay one slice of pepperjack cheese (or 1 oz grated chihuahua or 1 slice of vegan cheese) on top of each patty and let melt.
  2. Sprinkle 1/2 tsp of ground cumin on the inside of each bun. Lay the buns on the grill until lightly toasted.
  3. Assemble the burger: on the bottom bun for each burger, lay half the fire roasted poblano, 2 tablespoons of enchilada sauce (or more if desired), 1 slice of red onion, the Morningstar black bean burger, half of the avocado, and 1 tablespoon of cilantro. Place the top bun on top.
  4. Serve the burgers with extra enchilada sauce for dipping, plus salsa and tortilla chips on the side. Nom.

Notes

Possible extra toppings:

* Swap the poblano for roasted red pepper if you'd like it less spicy * Try adding a couple spoonfuls of fire roasted corn salad * Swap out the enchilada sauce for salsa verde * Add a spritz of lime to the avocado

http://haveforkwilleat.com/2013/07/spicy-enchilada-poblano-black-bean-burger/

A version of Jim's version of the French Kiss

Champagne Wednesday: Six French Kisses

The esteemed gentleman, Jim No Last Name Needed, who often inspires many of the choices for this illustrious weekly event–event? nay, affair–suggested yet another fantastic combination of life-giving liquors, dream-inducing syrups and tantalizing bubbles for this week’s cocktail when he forwarded the following image:

French kiss

Of course what this otherwise seemingly perfect photo lacked was ratios.  How much gin?  How much juice?  I bet Snoop Lion knows but I didn’t.  So I took to the final arbiter of all things: the Internet.  A quick Google search, though, revealed a number of French Kiss recipes.  Apparently the French do a lot of kissing.

So I decided right then and there that we needed to

Make all the cocktails

So for this week’s Champagne Cocktail, feel free to make one (if you’re a lightweight), two (if you’re average) or all six (if you’re fun-loving but a bit of a lush) cocktails and pick your favorite.

The Line Up:

1. Jim’s version of the French Kiss from whatever restaurant he was sending me pics from.  Pick your own ratios: gin, lemon juice, simple syrup, raspberries, sparkling wine.
2. Pegu Club’s French Kiss: gin, simple syrup, pernod, lime juice and mint (add sparkling wine!)
3. Drink Mixer’s French Kiss: vodka, raspberry liqueur, Grand Marnier, whipping cream (add some sparkling wine!)
4. Serious Eat’s French Kiss: vermouth, vermouth and lemon peel.  No, seriously. (add sparkling wine?)
5. Chris Kelly’s French Kiss: cointreau, raspberry Absolut, lime juice, pineapple juice, cranberry juice, sparkling wine
6. Greg Guzelian’s French Kiss: vodka, peach schnapps, chambord, pineapple juice, cranberry juice, (add sparkling wine!)

There you go….happy cocktails!